BEES in space
Roles: Texture Artist, Tech Artist, Generalist
Software Used: Substance painter and designer, Maya, Zbrush, Unreal
Summary
To safeguard our future, a bio-lab has been launched into space to research how both bees and flowers respond to being in space. However, during the mission, while everyone has returned to Earth to gather materials, both Earth and the station get hit by a huge meteor shower. Luckily, Queen, the AI onboard has stabilized the ship just enough so you don’t die. It’s up to the player to fix the ship, rescue plants and the bees. Who knew taking care of plants could be so hectic!
This VR experience was made in Unreal Engine 4.
Bees in Space is a team effort. Our team consists of Harrison Diehl (tech lead, lighting artist), Bree Levy (Level designer, modeller), Bridget Longo (prop modeller), Nic Tiberio (concept artist), Sarah Yandell (prop modeller), Erin Miller (Texture artist), and me (Texture and Tech artist)
Props and Textures
Environment

Game Trailer
Process Breakdown
In the early stages, our team started off by pitching our individual ideas and deciding on which one we like best. We drew inspiration from Wall-E and Among Us.
Our team decided that this VR experience will be geared towards mobile platforms like Oculus Quest 1 and 2, and, therefore, we knew we had to start optimisation early on.

One of the techniques we utilised was texture atlas. As I made these atlases, I always kept in mind what assets the player would be seeing frequently in each frame. Also, I had to take into consideration which assets will be used throughout the level and which ones will be used only once.

Our design lead Bree made a map of the overall level, and the first area that we worked on was the loading bay. Unfortunately, our first iteration of the bay interior design didn't go too well. The materials were too grungy and the lighting still needed some work.
.png)
We didn't have quite a clear vision of what we wanted when we started creating the assets, so I decided to dig deeper for references.
I started looking at a lot of visual references ranging from the interior of NASA space station and some successful Sci-fi interior designs.


Based on the references, I drew a concept sketch for the bay area so that my team had a clearer picture of the style we are trying to achieve. I try to keep the assets not too sleek and more industrial-looking for the bay area since it's purpose is to store crates and other shipments. I want the interior of this room to be distinct from the rest of the ship which mostly consists of living spaces.

I also changed the composition of the scene. By incorporating more linear elements, the composition has a clearer focal point which also helps in creating a better lighting scenario.
Here are some of the assets and textures I made in Zbrush, Maya, Substance Painter and Substance Designer. As I add in more details, I always think about the proportions/scale of each object compare to the size of the player to give them more realistic and closer to life details and proportions.
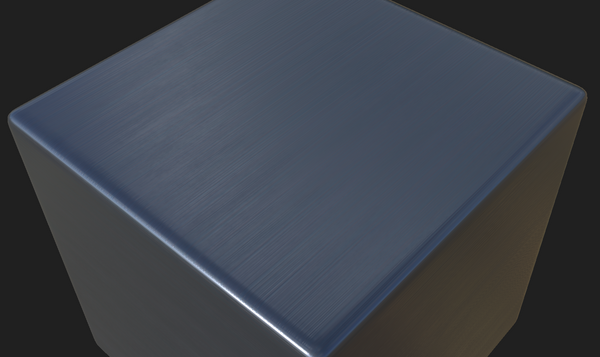
I also made some smart materials most of which are painted metal with different finishes in Substance Painter and metallic material in Substance Designer. These materials are to be used repeatedly throughout the game and on different parts of each game asset to create a style consistency. The Brushed Metal material has exposed parameters that can be customised in Substance Painter.
Responsible for all of the textures, and atlasing the UV maps of the assets listed above. Responsible for modelling some of the assets.


I also helped our tech lead in creating some of the interactions within the game including glove equipping, and glass breaking. The glass was made using the destructible mesh in Unreal.

I made it so that only when the player uses the hammer attached to the red box will the glass break. I also added radial damage to the impact to make the glass shatters on a larger range area.

By adding a few new assets and using the old assets that we made for the first iteration of the b, we were able to create the bay scene that has an entirely different feel to it.


